Do You Weed Vinyl Before Transfer Tape

How To Use Transfer Paper With Vinyl The Pinning Mama Transfer Paper Vinyl Vinyl Transfer

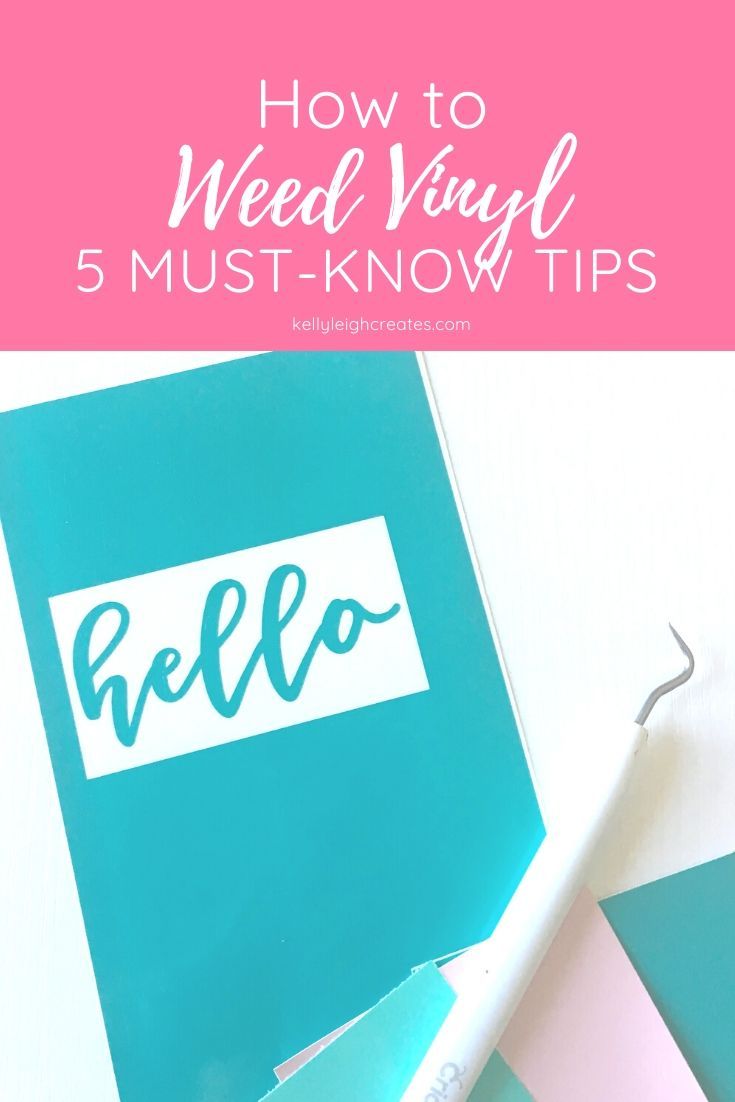
Pin On Finally Learn The Cricuit

This Video Will Show You How To Use Transfer Tape Or Application With The Cricut Or Silhouette Projects Cricut Cric Used Vinyl Transfer Tape Vinyl Transfer
Pin On Cricut

Abeginners Guide To Cricut Tutorials Cricut Creations Cricut Expression

Introduction To Vinyl Weeding Reverse Weeding And Transfer Tape Silhouette Cameo Projects Beginner Silhouette Cameo Vinyl Silhouette Cameo Beginner

Once you get your vinyl on your transfer tape flip it over and weed off the backing paper.
Do you weed vinyl before transfer tape.

Pin On Infusible Ink

What Cricut Accessories And Supplies Do You Need To Get Started Crafting Cricut Cricuttools Papercrafts Vinyl Cricutide In 2020 Cricut Cricut Accessories Card Set

What Cricut Accessories Do You Really Need Ideas In 2020 Cricut Cricut Accessories Cricut Scoring Stylus

Everything About Craft Vinyl Adhesive Heat Transfer Vinyl Iron On In 2020 Adhesive Vinyl Vinyl Crafts Vinyl

Pin On How Tos Techniques

Clear Vinyl Transfer Tape Roll With Alignment Grid And Easy Release Paper Transfer Tape For Vinyl Vinyl Vinyl Transfer

Vinyl For Crafts A Beginner S Guidebook Cricut Projects Vinyl Heat Transfer Vinyl Projects Cricut Tutorials

Vinyl 101 How To Use Adhesive Vinyl Burton Avenue Adhesive Vinyl Adhesive Vinyl

Weeding Iron On Vinyl Tips And Tricks For Making It Easy Iron On Vinyl Cricut Iron On Vinyl Cricut

How To Avoid Tearing Your Vinyl In The Weeding Process Cricut Projects Vinyl Cricut Projects Beginner Diy Cricut

Pin On Heat Press Ideas And Tutorials

Pin On Cricut Projects And Svg Files

What Is Chalk Couture Chalk Vinyl Craft Business

Silhouette Hack For Weeding Distressed Fonts Or Designs On Vinyl Silhouette Cameo Crafts Silhouette Cameo Projects Silhouette Cameo Tutorials

Pin On Cricut Newbie Inkscape

Vinyl For Crafts A Beginner S Guidebook Cricut Projects Vinyl Cricut Tutorials Heat Transfer Vinyl Projects

Pin On Best From The Best Vinyl Cutters

Pin On Silhouette Cameo

Pin On Tips Tricks

Pin On Cricut Crafts And Tips

How To Use Adhesive Vinyl With A Cricut In 2020 Adhesive Vinyl Projects Adhesive Vinyl Cricut

Pin On Cricut

144 Snap Weeding Vinyl Cricut Crafting Youtube Cricut Vinyl Weeding

Adhesive Vinyl Rolls For Cricut Permanent Vinyl 12in X 10ft By Craftables Adhesive Vinyl Vinyl Rolls Craftables
Source : pinterest.com
